Remove the back case cover.
Prep for lense assembly removal.
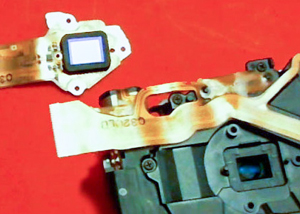
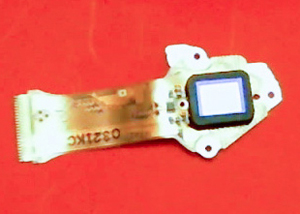
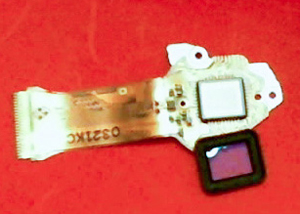
Get to the camera sensor.
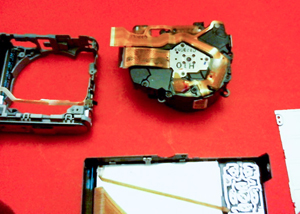
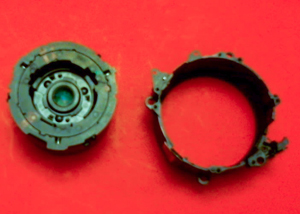
Remove the lense assembly from the camera body.
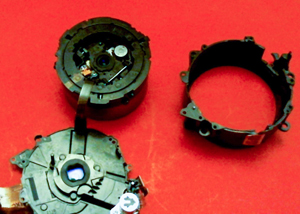
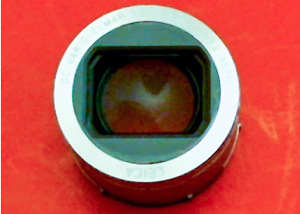
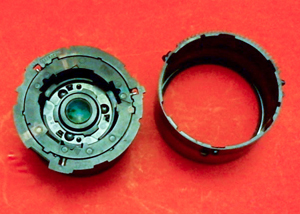
Open up the lense assembly.
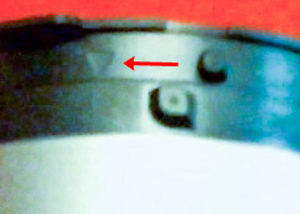
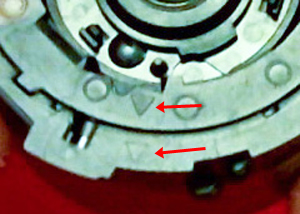
Note the triangular lense assembly alignment markers.
Disabling of the lense assembly.
Mechanism for the outer lense protective cover.
Removal of the outer lense end cap and cover.
Clean your equipment and lenses.
Reassemble the lense assembly.
Attach the lense assembly back into the camera body.
All done.
Prep for lense assembly removal.
Get to the camera sensor.
Remove the lense assembly from the camera body.
Open up the lense assembly.
Note the triangular lense assembly alignment markers.
Disabling of the lense assembly.
Mechanism for the outer lense protective cover.
Removal of the outer lense end cap and cover.
Clean your equipment and lenses.
Reassemble the lense assembly.
Attach the lense assembly back into the camera body.
All done.
This process is not too dificult at all, it can get a little fiddly reassembling the lense assembly components but a little patience, a delicate touch, some trial and error and perhaps an extra set of fingers are the most that is needed.
Having said that of course if you do manage some how to botch it up you may end up without a working camera, you have been warned.
Research/test your lense cleaning skills before starting, it's pointless removing a dust speck and leaving a great big smear behind.
- Remove all 11 screws from the casing front and back cover sections.
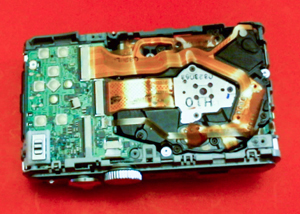
- Carefully remove the rear case cover, lift the two black ribbon cable catches and remove both ribbon cables.
- Remove the front case cover.
- Remove the tripod mount assembly by sliding it away from the battery compartment and then lifting it out of the camera body.
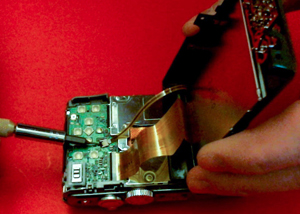
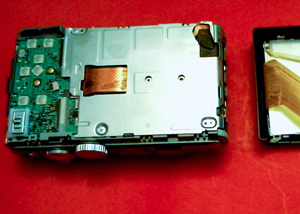
- Remove the screws from the metal sheilding, release the small catch hooks to the side and lift off the shield.
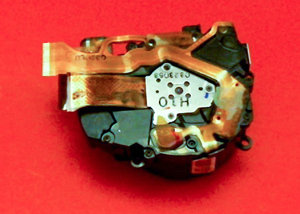
- The lense assembly is now visible.
- If you need/want to clean the sensor it can be found below the central metal plate fixed with three screws. It is within a sealed unit pretty much so should not need to be cleaned or opened.
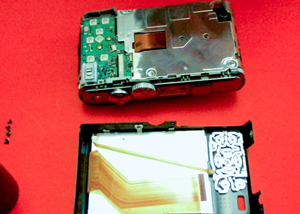
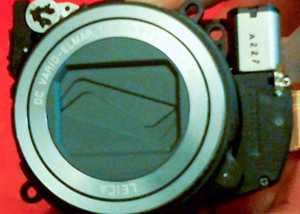
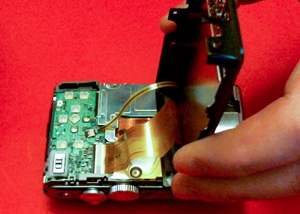
- Remove the two large ribbon cables coming from and the one thin ribbon cable going to the lense assembly.
- Unscrew the large silver lense assembly retaining screws.
- The lense assembly should now pop out of the camera body.
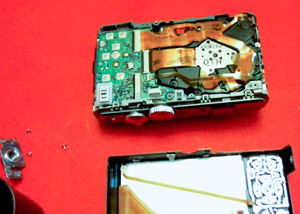
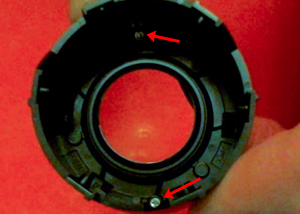
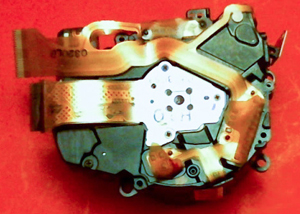
- Remove the black screws from the lense assembly, around eight of them.
- Note the locations of any screws smaller than the others, one short one on the small board to the side.
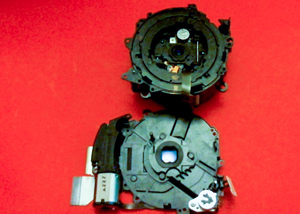
- Caution, the zoom motor at this point is only held by a small ribon cable, and another small ribon cable connects between the lense assembly lid and the inner lense focus commponents. Gently lift the top of the lense assembly.
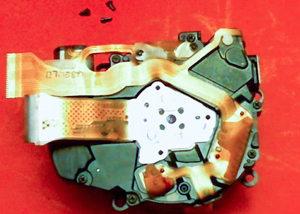
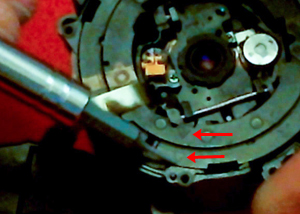
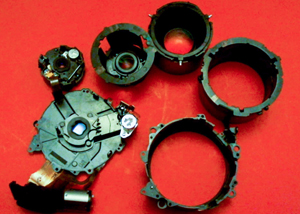
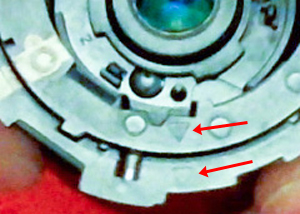
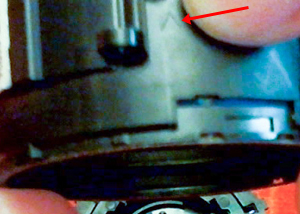
- On the cylindrical sections of the lense assembly there are triangular alignment markers to ensure they are oriented correctly.
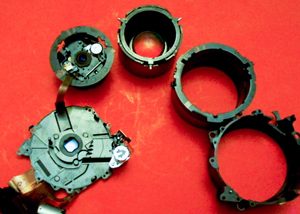
- The cylinders are meshed to one another via pins and tracks on the cylinder walls, you may need to zoom/rotate the lense to align the pins to the gaps at the top of the cylinders to allow them to separate.
- Before separation you may want to mark adjacent cylinders with a pen to aid reassembly although the alignment markers should suffice.
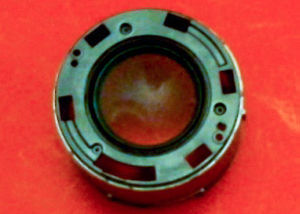
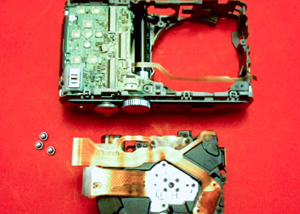
- The lense assembly consists of five cylinders and two disk, with the focus elements within the last cylinder.
- The third and last cylinders and the disks each have a lense.
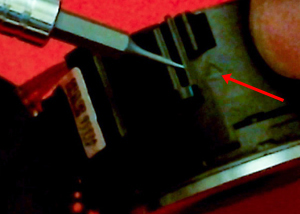
- The fourth cylinder is responsible for opening the outer lense cover, so on reassembly ensure it engages the sprung catch correctly before reassembly. Also ensure your markers line up otherwise you may find the shutter opens horizontally instead of vertically partially obsuring your images.
- The fourth cylinder also has two screws inside at the bottom that hold on the outer lense end cap which can be harbouring dust.
- Remove dust from all componenets and clean any of the lenses as needed.
- Rebuild the lense assembly from the innermost cylinder paying attention to the triangular alignment markers.
- Insert the inner focus mechanism last, before putting on the top of the lense assembly.
- It's a bit fiddly scrwing the lense assembly back together whilst hoding the zoom drive on and the assembly together, small fingers or magnetic screwdrivers help here. The first screw i'd go for secures the zoom motor, dont forget to ensure the small board on the side is attached correctly before screwing together, also remember this is a short screw length.
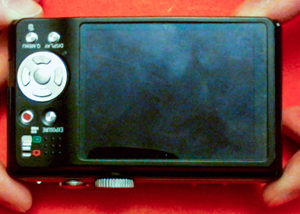
- Attach the lense assembly back into the camera body, connect up all the ribbon cables and screw on the case covers.
- Go take some dust free photo's.